I never was a fan of blueberry jam until I tried making it in an effort to use up some berries we had picked. I grew up with raspberry and strawberry jams and jellies. Blueberry just was not something I was used to. But once I saw how much more delicious it is when it is homemade, I was hooked. It is easily made in just a few minutes with simple ingredients; it doesn’t even need pectin! Now my favorite way to use up freshly picked Alaskan blueberries is to make a big batch of homemade blueberry jam so we have it for the cold winter months.

Jam vs. jelly vs. preserves
I did not know the difference until recently between jam and jelly and had no idea what preserves were or if that was just a fancy name for jelly. They are indeed all their own separate thing, but similar enough that they are all grouped together. They are all sweet, made with fruit in some form, and are well known for being spread on toast, biscuits, or made into a sandwich.

Jam
Made from fruit that has been crushed or pureed. It has sugar, and depending on the fruit, it may also have pectin. There are some chunks because it is not strained but the fruit pieces are relatively small. Bits of raspberry seeds in a raspberry jam, or bits of blueberry skin like in this recipe for homemade blueberry jam.
Jelly
This is the smoothest texture out of the three and is made from fruit juice, sugar, and often pectin. It is strained so there are no chunks, and it is often clear and not cloudy. Think grape or apple jelly.
Preserves
This is the chunkiest of them all. They are made with whole or large pieces of fruit that is mixed with sugar. Sometimes pectin is added if needed. Preserves have the highest fruit content and the most texture.
Tools
Medium pot
Measuring cups
Measuring spoons
Spoon
Potato masher
Ladle
Jars – I like these cute swing top jars if I am not planning to can them.

Ingredients
Blueberries: These can be fresh blueberries or frozen. I like using wild blueberries because I prefer the amount of flavor they have. If you can find wild blueberries, even at the store, that’s what I recommend. If not, any blueberries will be fine!
Sugar: I like the neutrality that white sugar brings. I always go for organic unbleached cane sugar.
Lemon juice: Blueberries contain natural pectin, so it does not need to be added. The acid in the lemon juice lowers the overall pH of the jam. This allows the natural pectin strands to “set up” so the jam can jell and not just be a blueberry syrup. The amount the recipe calls for is just for the pectin and not for flavor. More can be added if you wanted a lemon blueberry jam.
Salt: I like adding a little bit of salt to help and balance out all the sugar.
Vanilla (optional): In a recipe like this, a little goes a very long way. I do really like a subtle hint of vanilla in my blueberry jam though. I add homemade vanilla whenever I have it on hand.
Additional ingredients and substitutions
Berries: If you wanted to make raspberry jam, I do recommend fining a recipe specifically for the type of fruit you are using. Different fruits have different levels of pectin, some need different ratios of sugar, lemon juice, or pectin to get the jell to properly set. However, if you wanted to add in some raspberries or something to enhance the flavor of the jam, I would substitute a cup or so of blueberries for other berries.
Honey: If you do not want to use sugar, honey is a great substitute. It can also help to preserve the jam if you are going to be canning it once it is made. Keep in mind that honey is sweeter than sugar. Use just a little over a cup instead of the cup and a half of sugar when substituting it. It might make the color of the jam a bit darker, that is normal. However, a little pectin may be needed since the sugar does help with the jelling process.
Sugar: There can be less regular sugar added if desired, but if you are planning on canning the jam when it is done, the sugar content does need to be higher. The sugar also does aid in the “jelling” process of the jam. It helps to activate the pectin.
Lemon zest: Make this homemade blueberry jam with an extra layer of flavor with a bit of fresh lemon zest.
Let’s make homemade blueberry jam!
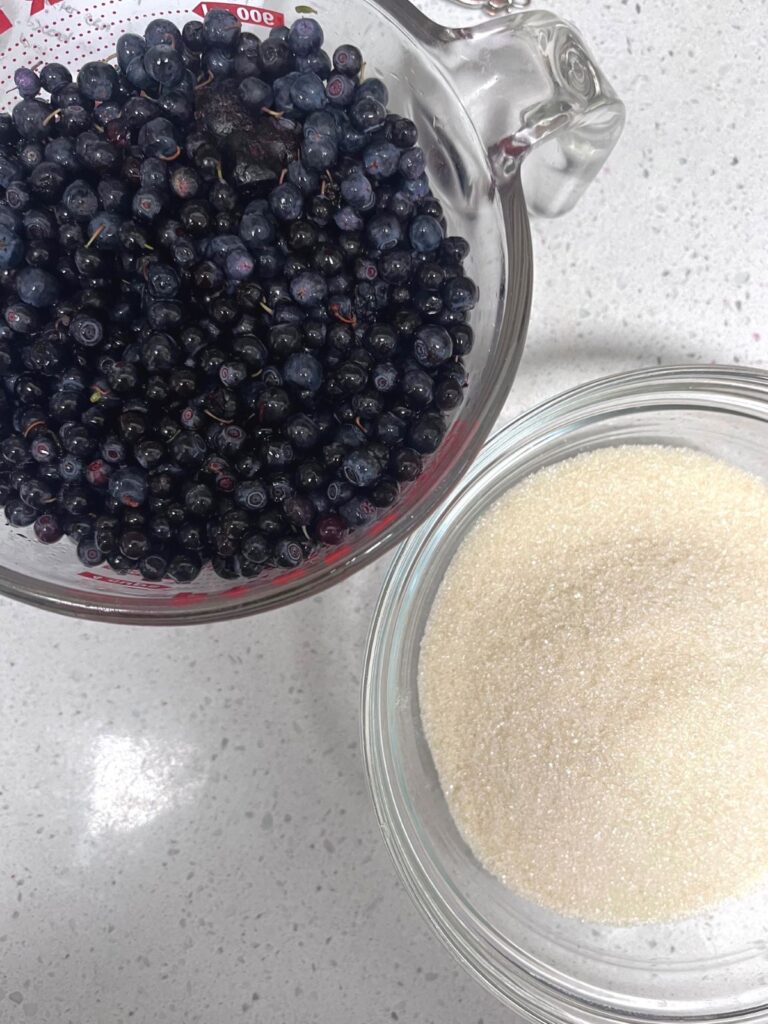
In a medium pot, add blueberries, sugar, lemon juice, and salt.
Cook over medium heat and bring to a boil.
Stir and turn down to a simmer.
Cook for 5 minutes.
Using a potato masher, mash the berries to break down any that are still whole or in large pieces.
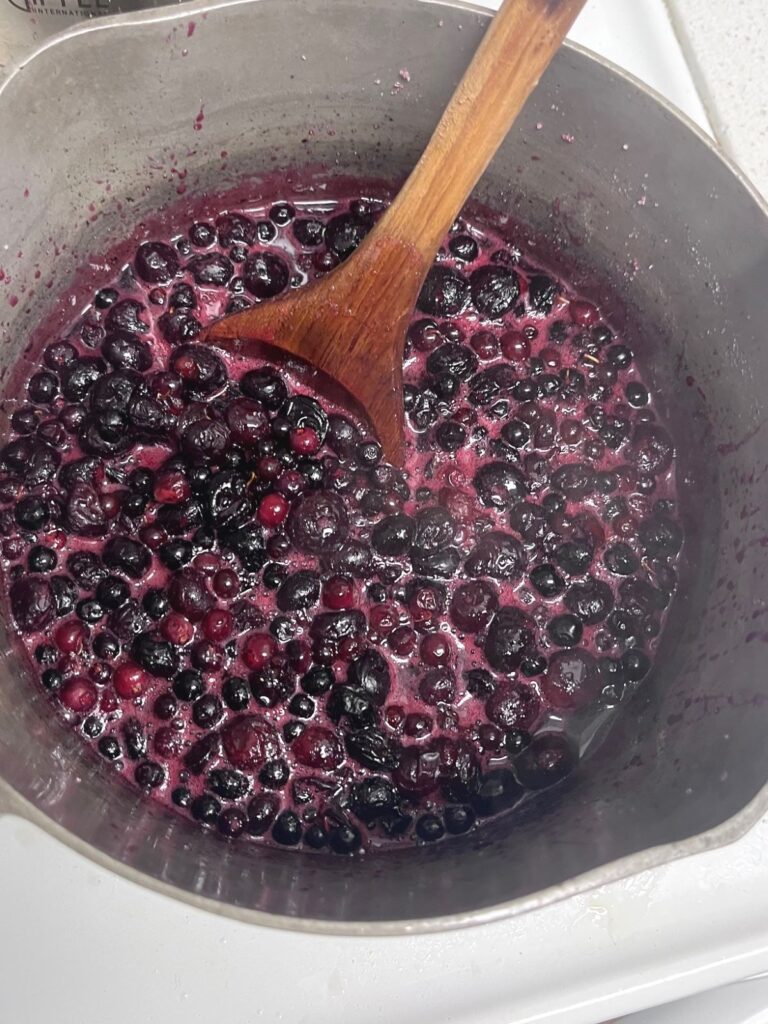
Cook for another five minutes.
Stir in the vanilla if using.
Cool the jam for five minutes at room temperature.
Ladle into jars. Attach lids and allow the jam to cool at room temperature for a few hours.
Transfer the jars to the fridge.
Enjoy!
Storing
Keep all jam in the fridge for 3 to 6 months.
Canning
I am not an expert on canning, but jams and jellies are pretty straight forward when it comes to canning them! This kit has a lot of what you would need to get started, except I would not use the plastic ladle because it will leach chemicals into the hot jam.
Make sure all tools being used are clean and sterilized. I like to pop my jars into the oven on low for a few minutes, so they are warm when the hot jam goes into them.
Filling the jars
Using a metal funnel, ladle the hot jam into the jars. Leave at least a 1/4 inch of space between the jam and the rim of the jar. Wipe any drips off and clean the whole rim with a clean wet cloth or paper towel.
Place the lid on the jar and then tighten the band to “fingertip tight’. This means do not crank the lid on super tight.
Lift the jar carefully into a water bath canner that is already filled with water that has been brought to a full rolling boil. A jar lifter is often used for this.
Once one jar is complete, repeat this process over with each jar until all the jam has been processed. Do not place all the jam into jars, then tighten the lids. This can cause them to start to cool down and they can crack when adding them into the boiling water. The risk of them getting contaminated also goes up.
Sealing
Process the jars for 10 minutes.
Remove the jars from the canner and allow them to cool.
Wait 24 hours, then test the tops. The lids will not make a popping sound when pressed on. If any of them did not properly seal, place them in the fridge.
Thank you
I hope you love this recipe as much as we do. It is always such a delight hearing about how much you enjoyed a recipe or what you think could be improved. So, thank you for leaving a comment! Don’t forget to share with friends and family so they too can enjoy making homemade blueberry jam. Thank you!
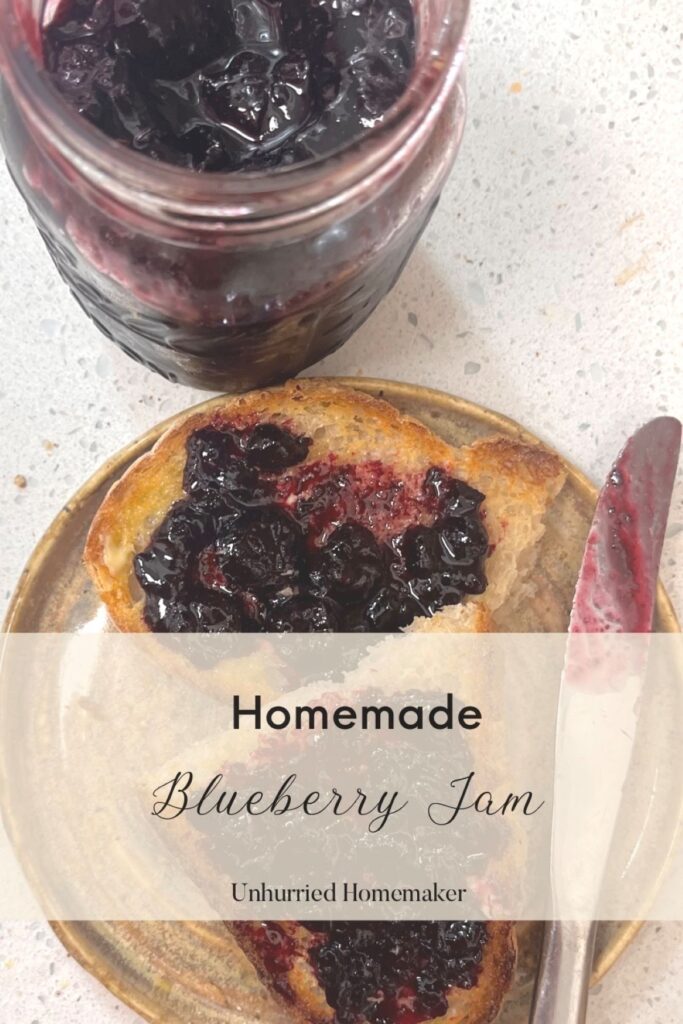
Homemade Blueberry Jam
This jam is such a great way to preserve fresh blueberries so you can enjoy them all winter long. It is easy, made with simple ingredients, and doesn't need pectin!
Ingredients
- 4 cups Blueberries
- 1 1/2 cup Sugar
- 1 tsp. Lemon juice
- 1/8 tsp. Salt
- 1/4 tsp. Vanilla (Optional)
Instructions
- In a medium pot add blueberries, sugar, lemon juice, and salt.
- Cook over medium heat and bring to a boil.
- Stir and turn down to a simmer.
- Cook for 5 minutes.
- Using a potato masher mash the berries to break down any that are still whole or in large pieces.
- Cook for another 5 minutes or so.
- Cool the jam for five minutes at room temperature.
- Stir in the vanilla.
- Ladle into jars. Allow them to cool to room temperature for a few hours then transfer to the fridge. See notes for canning instructions.
- Store jam in airtight jars for 3 to 6 months.
- Enjoy!
Notes
Canning
Process in a water bath canner for 10 minutes. Adjust for altitude if needed.
Allow jars to cool at room temperature for 12-24 hours.
The jars will pop as they seal. Any jars that have lids that spring back when pressed need to be stored in the fridge.
Remember to always use cleaned and sanitized tools when canning.
This recipe for homemade blueberry jam contains affiliate links. To learn more about how we use them, click here.
Leave a Reply